Arty-Forty

Thursday, 18 February 2016

February Children's Hour Tag

Hello, this month's tag pays homage to St Valentine's Day with hearts and flowers...

I used the February Children's Hour Papers, February Collective...

And February montage...

They can be found in the Trip Down Memory Lane shop here.
You will also need...
  • An 8"x4" tag
  • red card or paper
  • pink mini bobble trim
  • 7mm black satin ribbon
  • and a couple of gems
To start with use some of the February Montage paper to cover the lower part (about 2") of the tag and cover the upper part with red card or paper...

Cut the short pink patterned strip from the collective paper and fix with foam pads. Add a line of bobble trim or lace...
Cut the mother and child from the montage paper and attach as shown...
Cut out a postage stamp and the girl holding the rose and add using foam pads...
Glue strips of satin ribbon round the edge of the red card...

Cut out more roses and layer them up on the tag...


Punch two hearts from the montage paper and the black strip from the collective paper and add to the top of the tag...I crumpled the black strip a little then folded it to turn it into a curve instead of a straight line attached with foam pads...I also added a couple of gems to the hearts...


Finally add another piece of black ribbon through the hole in the tag for the finished tag...

The great news is you'll still have enough papers left over to make a couple of Valentine Cards too ready for next year!

I'll see you again in March.
Happy crafting.
Jane x

Saturday, 6 February 2016

Love letters...


Hello again - I'm back with a video tutorial for making a really simple mini book using envelopes. This really is a super easy book to make - you could churn out a fully decorated version in an hour.
You will need: 8 envelopes, Papers from the Mon Amour collection from Graphic 45 (if you want to copy mine exactly!) some paper flowers, co-ordinating ribbon and black card.

If you have the whole Mon Amour collection - you'll have papers left over from making the book - I used mine to decorate a blank wooden box inside and out...


Here's the video...


Happy Crafting!
Jane
x


Monday, 25 January 2016

Tag of the month - January

Introducing a new monthly blog item  - Tag of the month tutorial.  I will be using Children's Hour from Graphic 45which features two 12"x12" sheets for each month. The usual rich colours of Graphic 45 each with seasonal elements.
The January papers look like this...and can be found here on the website.


And here is this month's tag... This could be used as a card, a piece of home décor or attached to a layout...


If you want to play along this month you will need:
  • Children's Hour January papers
  • White paint
  • Acetate
  • White card to punch snowflakes
  • White and blue ribbon
  • Diamond stickles
  • Gems
  • Foam pads

You will also need to make yourself some tags for each month - I cut mine from Kraft card 4" x 8" (or 10cm x 20cm) with the corners cut off. You could use any colour of tag because the background won't show.

I started by covering the tag with the light blue patterned side of the paper and then used a little white paint applied with a foam pad to edge the tag...

I cut out one of the pictures of the mother reading to her child & the flowers to add later. Next I cut a piece of the blue patterned paper (darker side) 3" wide by 4" high, edged with white paint and fixed this towards the top of the tag...

I cut a piece of acetate 3.5" x 5", rounded the top corners and edged with white paint before fixing over the dark blue panel with foam pads, adding some punched snowflakes...
Next I fixed on the cut out elements, using foam pads to help them stand out a little...

Then I added the small dark blue snowflake strip, a small length of white lace underneath and one of the postage stamps...

After that I fixed the Let it snow banner on top of the snowflake strip, I distressed and stuck the small blue quote on, tucking it behind the woman and the yellow flower...

To decorate further, I put on more cut out flowers - I put all of these elements on foam pads to add to the 3D feel...

Finally - I stuck gems in the centre of snowflakes and decorated the snowflakes and the edges of the acetate with diamond stickles. 
White and blue ribbon threaded through the top of the tag finished it off...
See you in February for another tag!
Jane
x

Thursday, 3 April 2014

Botanical Tea Birdhouse

Ok...no time to wallow in my disappointment...I'm going to crack on with some more Graphic 45 projects. My first one uses the Botanical Tea paper collection which I love - it has such a great colour palette. I spied this abandoned bird table in the school garden...

...so I went to see the teacher who runs the gardening club who told me that it had been donated by another teacher who no longer wanted it and that he had no plans for it either. He said it would most probably be thrown away.

So...I rescued it and decided to give it the Graphic 45 treatment and turn it into a sort of bird house - complete with nest.
With the addition of some Clematis twigs from my garden, polystyrene balls, florist's wire, wooden dowel, Spanish moss, hot glue, green ink and several hours of fussy cutting...this is what I came up with...

 
and here's the other side...


I have tons of photos, so rather than put them all on here, I have put them into a video which includes a small amount of info on how some of the different parts were made...enjoy!

I'm thinking of doing a tutorial for how to make the 'aliums' (the ones that look like big lollipops!) - they were great fun to do.

I hope you liked my project - I'd love a comment if you have time.

Jane

Tuesday, 11 March 2014

Graphic 45 Design Team 2014 Audition

I can't believe it's a year since I applied for this in 2013 but I'm going for it again!!

It has been impossible to narrow it down to six projects, so as with last year I am delighted that the brief said 'at least' six projects. I have put pictures of each project below, but alternatively you can watch my 'Graphic 45 TV' video clip which contains all of the pictures below plus some video footage of things like my Mother Goose Carousel (turning and playing music) and the By the Sea pop-up book in operation.
I hope you like looking my projects as much as I have enjoyed making them, and... Graphic 45...PLEASE give me a go on your Design Team!?!?!

Video...


COUTURE

To start with, fecturing papers from the Couture collection plus metal door pulls...
My i-pad TV cabinet - I made this from 6mm mdf and then painted it black before covering with Couture papers. The drawer handles are meant to be old fashioned tv tuning knobs ...My i-pad slips in on the left hand side and then it actually works as a tv!


MOTHER GOOSE
My carousel, made from scratch with foamboard, a music box mechanism that plays 'Twinkle, Twinkle little star' and a lazy Susan to assist rotation...and lots of the Mother Goose characters on board.


My altered book - a fairy tale castle with Mother Goose accents...


TYPOGRAPHY
Altered writing desk... I fixed up this writing slope from E-bay which was falling appart - and gave it the Graphic 45 treatment.


J is for Jane...

Altered clipboard/planner...my class at A Trip Down Memory Lane's Autumn retreat 2013


BY THE SEA
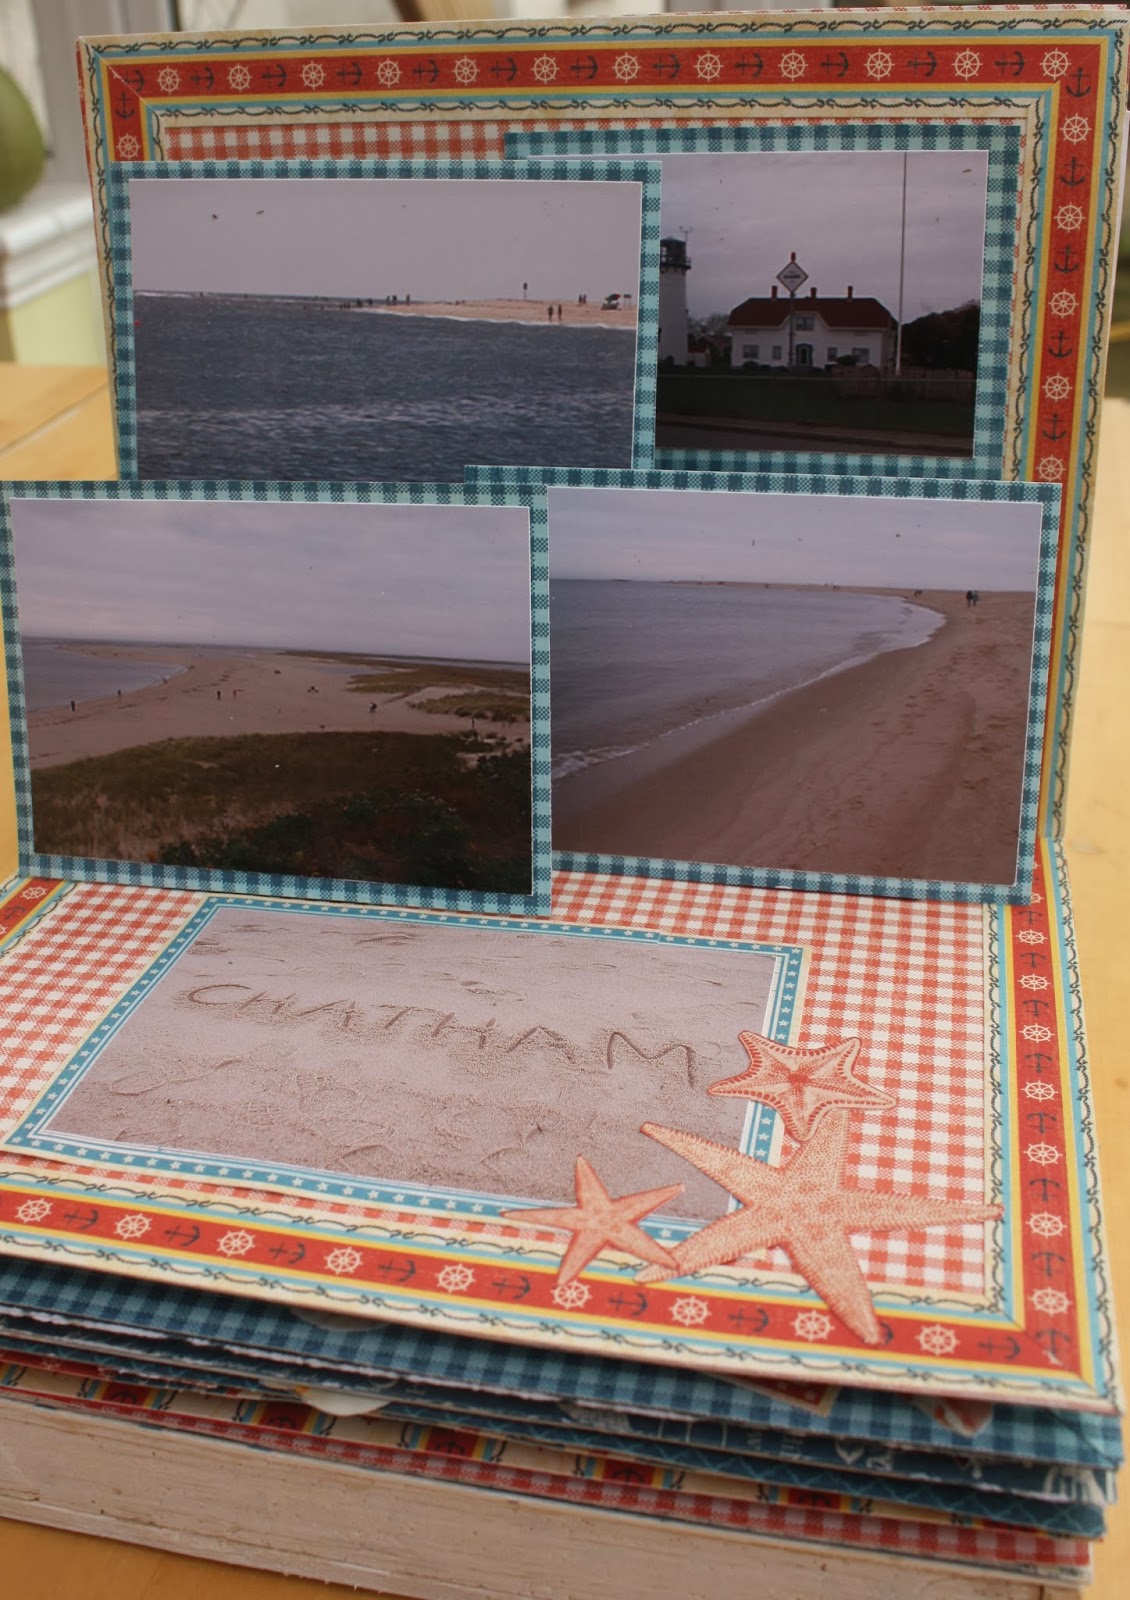
A pop-up book of my New England holiday a little while back complete with a handmade driftwood shadow box front containing sticks, stones and shells from Maine...


STEAMPUNK SPELLS
Madame Macabre's gypsy caravan, more information about this on my blog here...


Steampunk birthday card...


12 DAYS OF CHRISTMAS
Tower of gift boxes

BIRDSONG
A set of altered drawers for keeping different flavoured tea-bags...

My Dad's 75th birthday card

My Chopstick bound book - a tutorial for which can be found here.


BOHEMIAN BAZAAR
A layout using these bright papers - a tutorial for this layout can be found on my blog here...


GOOD OL' SPORT
Sports clubhouse made from a dolls house kit called 'The Retreat' from the Dolls House Emporium and decorated to be a vintage clubhouse / cricket or tennis pavilion...


SECRET GARDEN
Cards...


Pop-up garden in a book...


Mini-book in an altered box...


COUTURE again
My altered glittered wine bottle...

 
 Thank you to anyone who has made it to the end of this blog post! I would love to read your feedback on my Graphic 45 projects, so please leave me a comment...
 
Jane x